Introduction

“The future of mobile is the future of everything”, – Peter Rojas, Co-founder, Engadget and Gizmodo.

Ten years ago, if someone had told us that we could purchase anything through our mobile, we would have laughed at them and mocked, “Yeah, right!”.

But here we are. And we should acknowledge the fact that it all began with the inception of smartphones. But then again the crucial element was, is, and forever will be the applications. Like bullets, mobile applications have pierced their pellets into our hearts by providing a platform where we can play, chat, record, entertain, learn, and most of all, do business.

And with more and more people using smartphones, the need for mobile applications for a business has become Inevitable.

You should have your mobile app as well. A survey conducted by Statista says that the revenue of mobile apps will hit almost 935 billion USD by 2023.

So, if you are ready to boost your business through your own mobile app, then this is for you. This ebook will guide you through each stage of the app development process, from top to bottom.

Why have a Mobile App?

The amount of smartphone users worldwide is now almost 6,400 million and is estimated to surpass 7,500 million by 2026.

In 2020 alone, the number of mobile apps downloaded was 218 billion.

About 79% of people spent their time on mobile for about 3 hours or more.In the 3rd quarter of 2021, the total value of global consumers spent on mobile apps amounted to 34 billion USD.

The revenue generated by mobile apps is set to hit 935 billion USD by 2023.

native vs hybrid app

Types of Apps

There are mainly two types of apps, Hybrid and Native.

Native Apps are designed and developed to work on a specific operating system [OS]. Being built specifically for an OS, it can provide optimised performance. Whereas, Hybrid apps have the features of both a web browser and a native app.

Most of the startups opt for hybrid apps as they are cheap and easier to build. But on the other hand, established businesses mainly choose Native apps.

Read more about both on the table given below.

How to Ideate for Your App

“There was an idea to bring together a group of remarkable people to see if they can become something more” – Nick Fury.

I think quoting this memorable line from The Avengers is the best way to start this section and make you understand the density of an idea.

Nick Fury didn’t just form a group of superheroes because it was super exciting. No, he grouped them because he saw them as the solution for the world’s problems. And he was right. Year after year, some issues will arise, and it is up to the Avengers to solve them.

So if you are thinking of creating an idea for your mobile app, we suggest that you start by looking at the problems existing in the market.

E.g.:- Travellers often visit other countries and mostly, the country’s native language is unknown or not knowledgeable to them. So, there exists a problem.

You have to do market research, which you will learn further down the topic, and understand the clusters of people experiencing this problem, the country, the language, etc.

If you like this idea, then you can work on this. But never constrain your idea to a bare minimum, one. Brainstorm and try to come up with a handful. Because when you follow through further steps, the useless will filter out, and you will get a scalable and profitable app idea.

Is Your App Idea Doable?

Your app idea might be one that will solve crucial problems and have the potential to become a superstar debutant. But you should revise your idea to make sure it is practical or not.

It has to be realistic and viable.

There is no point in cooking up an idea that cannot be created with the available technologies. You are allowed to think big, and you should. But you must know the limitations of the technologies available.

Follow up to the next step to better understand the feasibility/viability of your idea.

Market Research

Market research is one of the most crucial steps in the ideation process. This step will either lift you or break you, and it all depends on how you do it. So it is vital to dedicate a significant amount of time to this section before moving on to the next step.

How to do it?

1. Look for competitors

Yes, your idea might be unique, solving an existing problem. But there is no point in creating an app when your competitors provide the same service you have in mind. You have a shot if your app can provide something no other competitors can.

2. Identify the industry of each idea

This is yet another important part to look into. You should track the trajectory of each industry your idea falls in. Identifying those industries that provide a healthy ground for growth is your task. The future of your app is all about growing, so you must find those ideas in domains where there is a sure possibility of growth.

Documenting these will help you further down the road when you are sitting in front of a potential investor. These documents show your investors that you have done deep research into the industry and will build trust in them.

Remove those ideas that do not bear any fruits in the future and read on.

3. Narrow down your customers

You now have fewer ideas than when you started this ebook. And these ideas have passed every hurdle. Now it is time to find your target audience.

If your ideas can solve a problem, we know that a specific group of people will need your product. But now, it is time for you to learn more about them.

Your research should also give you a good idea of your potential customers. Consider the following:

  • Age
  • Occupational or Title
  • Earnings
  • Gender
  • The location
  • Level of education
  • Relationship or family status

Focus on attaining the above-listed data. These data are essential because they will help you strategise your marketing plans. And also, it will help you prioritise the features for your Minimum Viable Product (MVP), which you will learn in detail in the coming sections.

Try to revisit this collected data. Time and market wait for no one. You must be keen to look into any changes happening in the marketplace. And if you can, collect some additional information by talking to focus groups within your target market.

There is only one thing constant in this world: change. The marketplace is no exemption.

With the market research done, you may be left with 1 or 2 ideas to work with. Let’s filter it. If you are having trouble choosing, follow these steps to pick the right one.

    • Pick that one idea that you understand better

The better you understand your idea, the better you can innovate. You will know what features to be added and what to be excluded. You will learn how your app needs to work.

    • Pick that idea that is easier to explain and understand

Your idea should be easy for you to explain and easy for others to understand. This is crucial because, at some point, you will be sitting in front of an angel investor or a venture capitalist, trying to convince them to invest in your app. If you stumble while explaining or if your potential investors didn’t understand what you meant, then and there, you lose your funding.

    • Pick the one that fits your budget

Understand which one is more expensive. Of course, you can get investors to fund you. But it is always best to start low for safety. We will discuss more in the budget section of this ebook.
Now that you have picked your idea, it is time for you to look into the technical and non-technical parts involved in the process. Read on.
Technology

Ever wondered what drives your favourite apps forward?
The technology does the heavy lifting to keep the app performance intact.

Choosing the best technology that suits your app can be tricky.

What is a mobile app development tech stack?

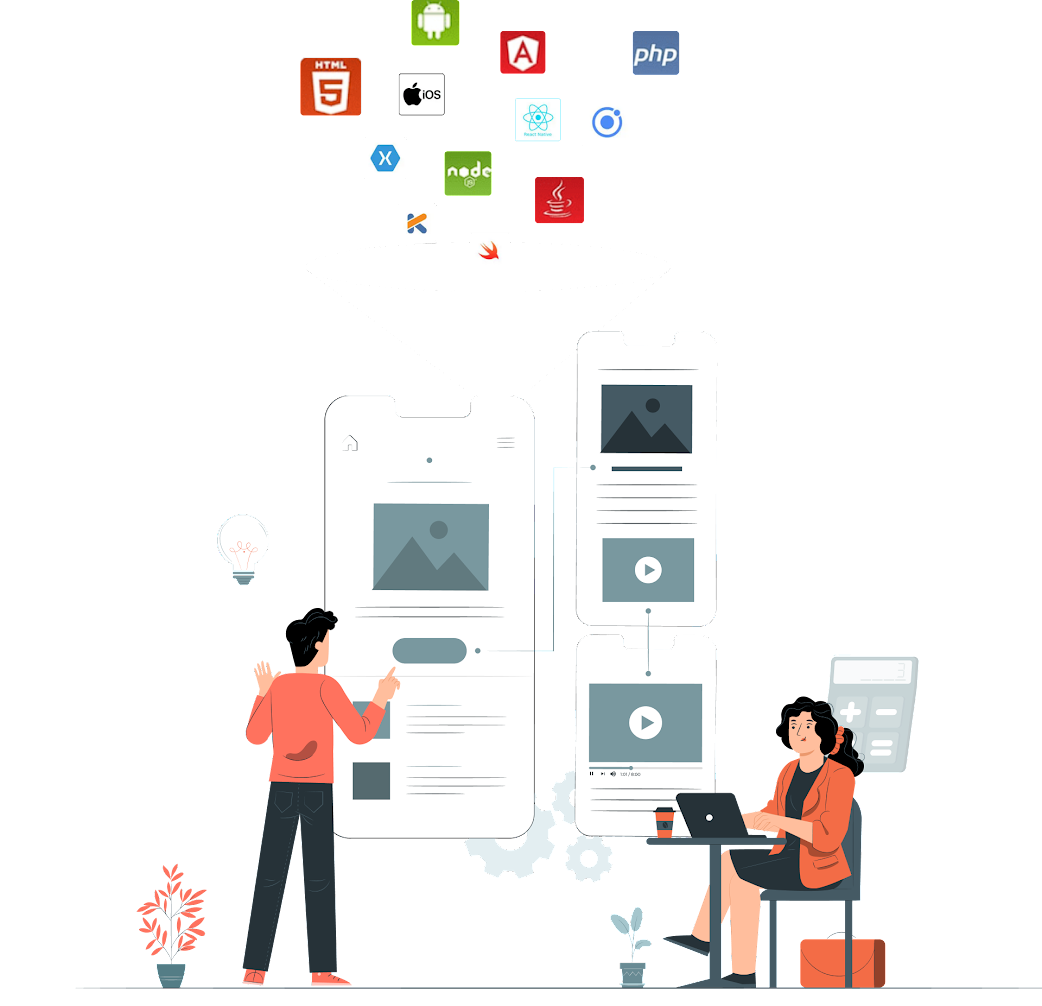
A tech stack combines frameworks, programming languages and tools that let you build a fully functional mobile app from scratch. The structure of a tech stack includes three components: Front-end, Backend and Middleware.

Choosing the right tech stack can help you save time, build the app the way you want it and ensure optimal performance, providing a clutter-free experience for your users.

Here’s the deal:

Choosing the right tech stack to create your app will eventually improve your bottom line. Because good tech also means your app is glitch-free, seamless and high-performing, and a flawless app experience could attract more users.

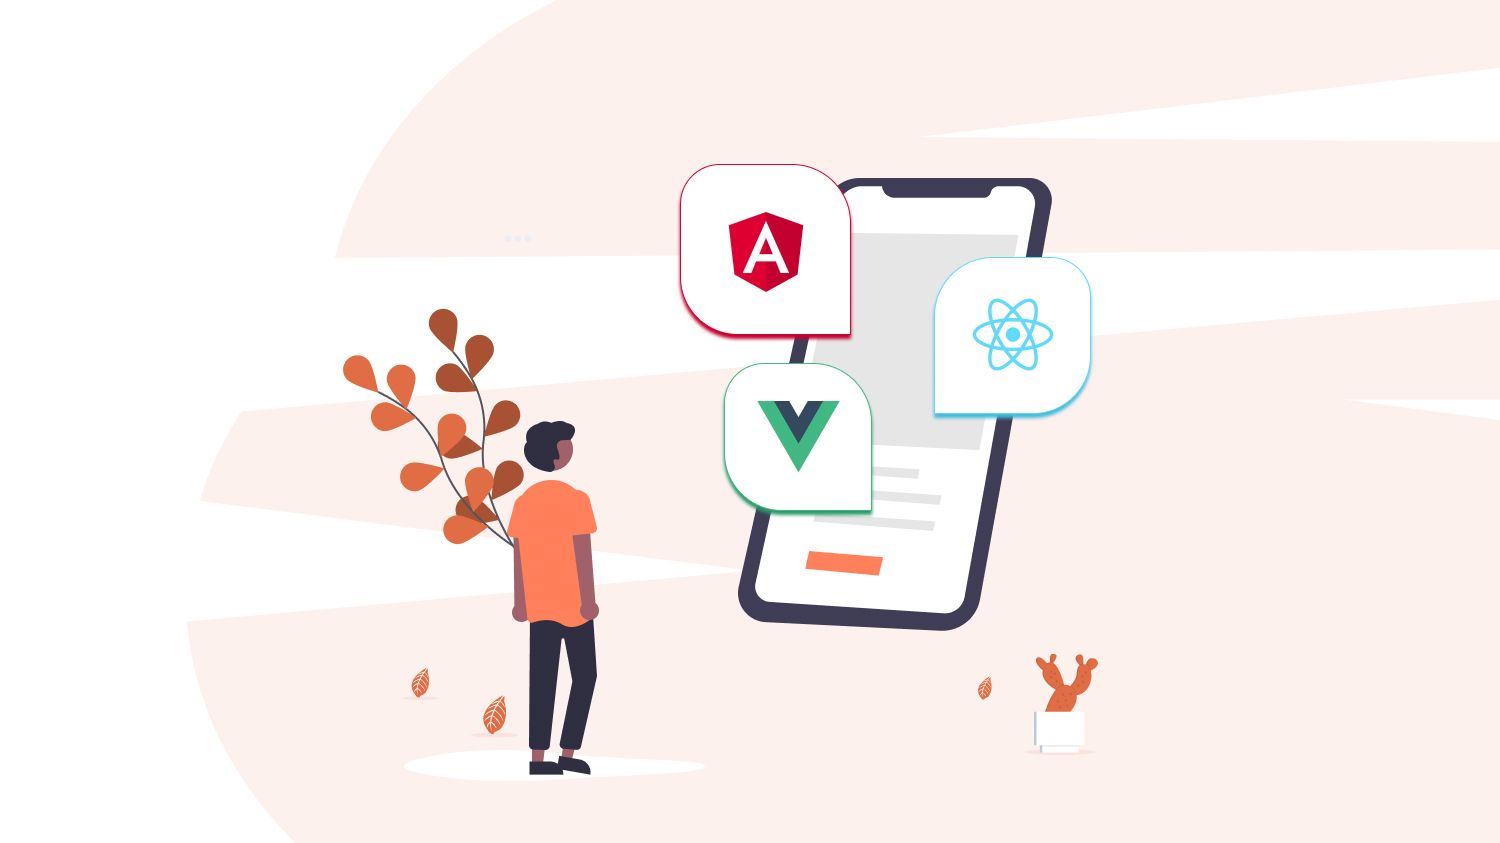
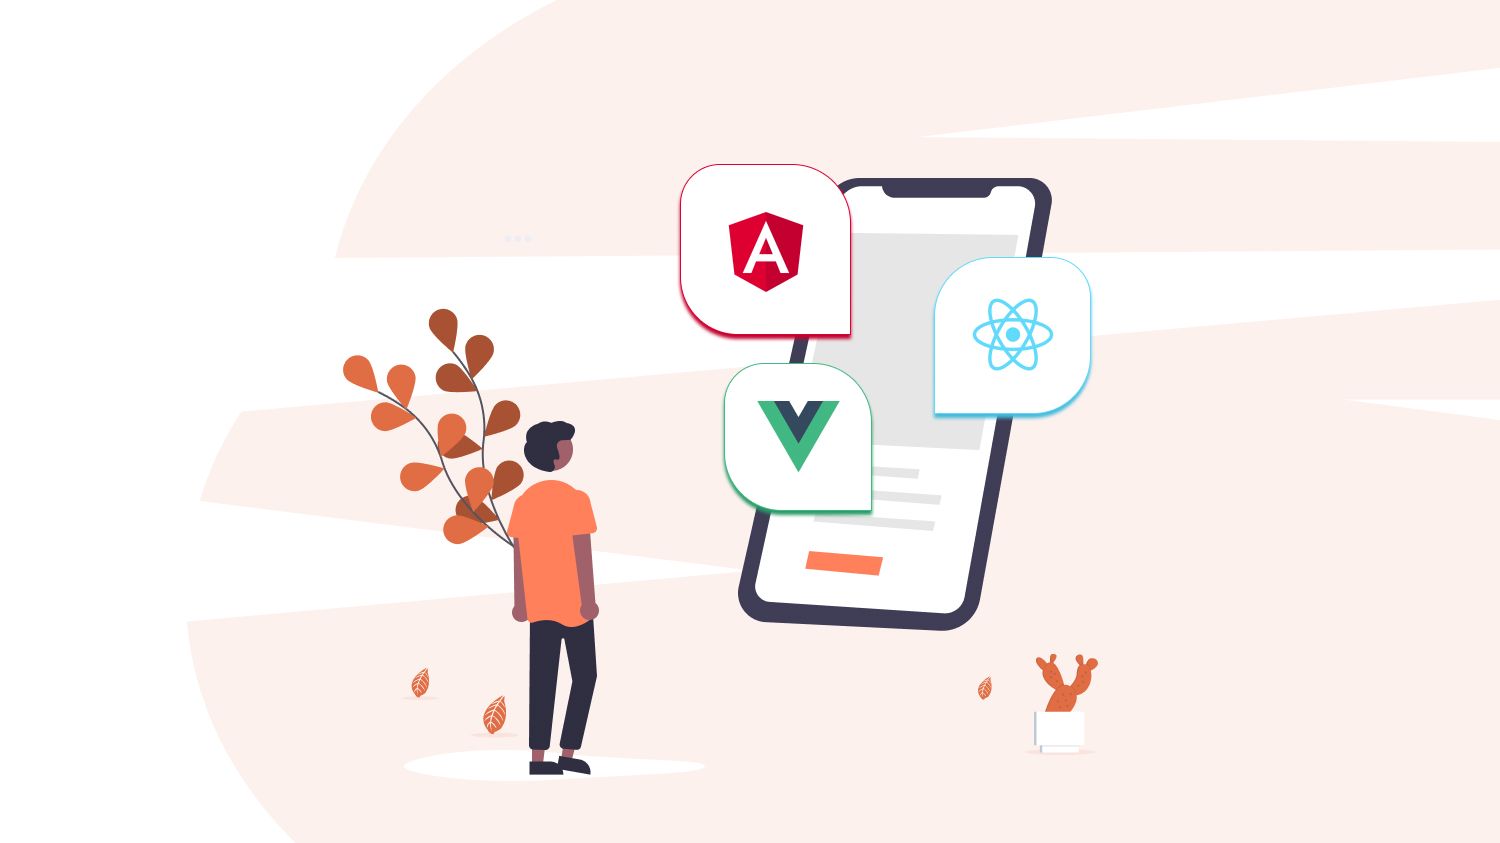
Mobile App Development Frameworks

A mobile app development framework is a platform that includes the tools and software, compilers, debugging tools, and programming interfaces used to build a mobile app.

Top Frameworks for Mobile App Development

Flutter

Flutter is an open-source,
cross-platform framework developed by Google. According to Statista, 42% of apps worldwide run on Flutter, making it one of the most popular frameworks to build high-performing and intuitive mobile apps.

Why Flutter?

  • Faster development: Flutter comes with a single codebase. That is, your developers can run the same code to build your app on both Android and iOS instead of coding separately, which leads to faster development. Flutter-powered apps also give a rich native-like app experience with a stunning performance.
  • Faster time-to-market: Flutter allows developers to update and review the code in real-time through the Hot Reload feature. The best part is that both developers and designers can access the code and work together to fix errors, drastically reducing the time to review the updated code, helping you launch your app faster.
  • MVP-friendly: The single code usability of Flutter lets you save big on development time and resources while building your MVP. The cross-platform nature helps you create your app for both Android & iOS with a single codebase and lets you reach a wider audience.
  • Native app performance: Unlike other frameworks, Flutter apps are directly built into the machine code to eliminate speed bumps in performance, giving a near-native app experience.

React Native

React Native is an open-source UI framework created by Meta Inc (Facebook) that lets you create stunning mobile apps for Android and iOS users. The flexibility of React Native has made it one of the most reliable frameworks to develop mobile applications for businesses of all sizes and shapes – from hot startups to multimillion-dollar worth enterprises.

The biggies like Facebook, Instagram and Walmart use React Native to make their apps worthwhile to the audience.

Why Choose React Native to Build Your App?

  • Faster performance: Mobile apps built on React Native guarantees faster performance that delights your users whenever they access your app.
  • Single codebase: React Native has a single codebase that lets you build intuitive mobile apps for Android, iOS, and Windows, cutting down your development cost and ensuring your app hits the market faster.
  • Responsive UI: Being a native framework, React Native is an ideal choice to create stunning and highly responsive UI that helps you bag more app users and improve your conversions.
  • Active Developer Community: React Native has an expansive and prolific developer community that comes in handy whenever you need to tackle a tech hurdle.

Other Major Frameworks for Mobile App Development

Ionic: A popular framework for cross-platform mobile app development to create top-notch Android and iOS apps. The framework lets you develop delightful UI experiences that sweep your users off their feet with its range of intuitive UI components with complete control over app development. Plus, Ionic boasts over five million members in the developer community.

Native Script: An open-source framework to build stunning native apps, Native Script empowered with Javascript, CSS, Angular and Typescript, and it comes with full access to Android and iOS APIs. It’s one of the most preferred frameworks for building a long-term mobile strategy for enterprise applications.

Choosing the right framework for your app

So, you’ve got an idea about the most popular frameworks to build your mobile app. The next question would be how to choose the framework that suits your needs? Choosing the proper framework may seem complicated, but it is not a hard nut to crack!

Here are some crucial factors to consider while choosing the best framework to build your mobile application from the ground up.

  • Your project type: You should have a clear idea about your project’s type, size, and scope. For example, if the plan is to build an MVP before the major release of your app, then choose an MVP-friendly framework that fits your budget. Rather than just throwing the dice, create a detailed outline of your project before getting started with development.
  • Development cost: You might have a light or deep pocket, but consider the approximate development cost before choosing the framework. You can rope in an expert to estimate your requirements and set a cap for development costs.
  • Expertise: Good products that you see – from Uber to Instagram – are the effort of experienced tech teams. A team with immense expertise understands the nuances of your app’s technical side and helps you at every stage of development – from ideation to maintenance. Plus, you can draw opinions from tech experts on the framework of your app.
  • Time to market: Time to market is the time taken for your app to be available for the consumer markets. If you want to launch your app faster, go for a developer-friendly framework with a shorter learning curve and a single codebase to facilitate quicker development. Creating an MVP will be an ideal option if you’re looking for a shorter time to market.
  • Scalability: The scalability of your app determines its growth rate. If you’re looking for rapid growth, embrace technologies that have the potential for scaling up quickly. For instance, frameworks like React and node.js have perfect scalability.
  • Security: Your app might collect sensitive data ranging from payment details to demographic information from the users. Your app may require superlative data security to avoid any possibility of a data breach. Pick a framework that ensures maximum security for user data.

Planning Your Budget

You have selected your app idea, which you want to build. You have gone through the technical and non-technical aspects. You have read about the tools that are required to develop your app. Now it is time for you to move towards development.

But first, you should plan your budget.

According to a survey conducted by Clutch, the median cost ranges between roughly $38K to $171K. And the cost per hour ranges from $35 to $150+. So, you don’t want your money to run out in the middle of the development process.

Having a clear and concise idea of how much you have and where to spend it, will help you save some time and money. With proper planning, you avoid a potential budget crisis.

Factors Affecting Your Budget

  1. The complexity of your app: The more complex your app is, the more resources it needs, the more time it will take to finish, thereby increasing your cost.
  2. Customising your app features: Start with MVP and prioritise your features. The market research you have done will help you here in prioritising the features.
  3. You and your team: Without a top-notch team, you will see the resources being wasted, and consequently, your money being wasted. They will stumble at times and lag your work, at which point you might see your purse lightening.
  4. Geographic location: Yes, the geographic location of your team indeed has an impact on the cost of the app development. This is why more and more companies are shifting their focus to India.
  5. App maintenance and upgradation costs: New and new technologies are popping up every day. Your app must be up to date with these technologies. Upgrading with time is essential to provide a better user experience.
  6. Q/A testing: Adopting an agile methodology of quality assurance testing for your app development project also ensures that your team is kept on their toes at all times, and this will lead to more optimal results.

Funding Your App Idea

You either have some amount to contribute to the development stage, or you have none. Either way, you will have to raise enough funds to transfer your app idea into a profitable mobile app. And you can raise it by approaching investors or by following a self-funding business model.

fund my app

While considering investors, whoever they are, should have a genuine interest in helping you build your mobile app rather than just funding you. There are some qualities you should look into the investors before approaching them. They are

  1. Help you set your goals
  2. Help you with their experience and knowledge
  3. Help you in making the right decision
  4. Patience with investment

Research about the investor and also, their previous investments. You can contact the business they are investing in to know more about your investor’s character and personality. Following are the four key essential qualities of a good investor.

With that in mind, we now can look into the types of investors. There are mainly two types of investors:

Angel investors

Angel investors are basically individuals with a high net-worth providing finance for small businesses. They are usually friendly. They typically want to help and to get involved by sharing their knowledge and experience with you. And they usually won’t invest more than one million, not in the first few times of their support.

Venture capitalists

However, Venture capitalist or VC funding is different. It’s a type of private equity, a form of financing where venture capital firms provide funds to startup companies showing high growth potential.

Now whoever may be the investors, you will have to sit with them, confer with them, and have to convince them that they are investing in something reliable and profitable. And here is where the market research you did earlier is going to help you.

Now there are also some downsides of getting investors for funding your business. We need to be realistic here. If you’re taking on equity investment, you should be ambitious about your growth plans and your targets for sales.

So here are a few alternatives for you to raise your required fund.

  1. Self-funded business model
  2. Grant funding
  3. Crowdfunding
  4. Peer to peer lending
  5. Asking your friends and family

The last one may seem a bit unorthodox, but if the budget you have in mind is low and achievable through your friends and family, it is a viable option. Crowdfunding and grant funding are also effective mediums to acquire funds.

How to acquire fund

Now that you know who the investors are, it’s time to acquire your fund from them.

Irrespective of what you choose or who you choose, you have to consider the fact that there are others like you aiming for the same thing, Funding. Investors usually get hundreds of deals every month but are moved only by very few. Thus, it would be best to help your app stand out from the crowd.

We recommend that you have these five things in place before you go out and talk to investors because it will help increase your chances of success.


01

Having a credible team. by your side for development. Such a team will build trust in investors. They will know none of the resources will be wasted, and the work will be completed on time.


02

Build a good MVP. With a working MVP, you can show your potential investors the working of your app, how it will benefit the users, and if you can attract some customers, your probability of bagging an investor is in the high 90s.

03

A viable business model. With this, the investors will understand that you will know what it costs to run your business, the sales and the revenue you intend on generating.


04

How your product will satisfy the market needs. The key is to solve an existing problem. If you have handpicked the idea in such a way, then you have nothing much to do here.

05

A strong plan for future growth. Stagnancy isn’t something that any investors look for, but continuous growth.


So, now you know where to trim and how to plan your budget. You know the types of investors, where to look for them, and acquiring funding.

NeoITO is keen on helping startups build their dream products. You can contact us with your Idea, documented research papers, etc., and we will help you turn your idea into an amazing app.

Now let’s learn how to find the right developers for your app and all the processes included in the app development.

Finding the Right Developers

find app developers

Now that you have checked your pocket and got a clear idea of what you have at your disposal, it’s time to find your A-team.

The need for the right personnel for the job cannot be stressed enough. The money you spent gathering the talent you require is not a liability; it’s an asset.

The right developers can give you the product of your dreams, and they won’t crumble under pressure. You can either go for freelance developers or app development companies.

But there are certain key points you should remember while you start hiring your dream team. They are as follows.

Do your research

You should be aware of what you need and where is the right place to find what you need. In the technology-driven world, the options for an app development company or an app developer seem to be endless.

Understanding what you want and then searching for the people who can deliver is a positive way of filtering the talent ocean.

Compatibility

While searching for the app developers, you can check whether it is just another paycheck for them or are they really interested in what you do. The people who can understand your vision and mission will work for you more enthusiastically. They would be loyal to your cause and always have your back in any situation.

Evaluate properly

Your app requires a specific set of skills, look for the people with those skills and whether they can deliver what they claim. Tweak the hiring process to get the best team for your app development.

Check references

Checking for references is a great way to verify the claimed expertise of the person or company you are planning to hire. There is also a detail you have to be aware of: always check the credibility of the references.

Build bridges

This one is mainly for the people looking for assistance from an app development company. Making the one app isn’t your final project; there will be future projects where you might need the same level of expertise or something more.

Building relations can always benefit you and your company. As your project scales, you need more updates and development, and you want them to stick with you throughout the whole journey.

Be foresighted

You need to be a visionary while hiring. A true visionary is a person who takes the future into account. Hiring for your current requirement is a hasty move.

Once the person is done with the work you hired him for, he will be a dormant workforce till you find him a job he can do. Other than going through all these complications, you can choose a person who can contribute to the company in more than one aspect.

Creativity

Creative design and talent have always created a market for themselves. App development is not just a backend process; it also has a front end that interacts with the user.

The design and simplicity is not something you can turn a blind eye to. When you choose your developers, make sure from the previous projects that they have the unique creative touch in their works.

Aesthetics and UI have a bold say in how an app scales in the market.

Thinking outside the box

The pandemic has opened an effective way for entrepreneurs to find talent around the globe. Around the world, many skilled developers can be hired at much lower salaries than the local talent.

Earlier, communication has always posed a problem for outsourcing, but the growth of technology has bridged that gap.

A good team of developers can help you achieve your goals faster and more efficiently. Keep the above key points in my and choose your A-team.

Once you have the A-team, it’s time to draw the map.

Creating a Wireframe

A wireframe is the battle plan for your app. It is the backbone on which the app is built.

The wireframe has to be adjusted to incorporate the data obtained from the research. So creating a wireframe is the second step of a detailed plan.

Many developers have their way of creating a wireframe. Every project is unique in its own way, so there is no mandatory stepwise process for this. We are about to give you a glimpse of the typical way of creating a wireframe.

While making a wireframe for an app, you follow essentially nine steps. They are railings of a bridge between the app’s design and MVPs.

create a wireframe

Map the flow

The first part of wireframing is designing how many pages the app requires to give a smooth user experience while ensuring maximum efficiency.

This is the user flow, the series of steps through which the user has to go to achieve a goal.

For example, let’s take a payments app. First, you log in, search for the recipient to send money, select the amount, enter credentials, and send money ( there are a whole lot of processes in between, for the time being, let’s not go into those messy complications).

Usually, this is drawn with the help of boxes and arrows to give a clear idea. Select a suitable design for the user flow.

Sketch the flow

Once you have the user flow, you can use drawing apps or the age-old method of drawing on paper to give a rough idea of the design of pages.

Creating the pages as a pictorial representation can be subjected to further analysis whether it fits the app theme or the use of the page can be well defined in this step.

What is the purpose of the page?

How does it help the user?

These two questions should always be on your mind designing the pages.

Mobile framing

Setting the screens for the app to function based on the available screen size, that is, the screen of large, medium and small phones is mobile framing.

Mobile framing is done to create a boundary in which the app’s functions need to be placed. Mainly the screen size of the Apple flagship phones is used as a default frame. It is optimal to start with the middle ranged screen as this is popularly used.

Creating a layout

The presentation of your app is vital for a seamless user experience.

So for arranging the content on your app, a layout is made in the form of box diagrams.

Studies have shown that people scan web content in an F-shaped pattern, so how you set the layout is how you want your user to process the information.

Familiar designs

Using familiar designs for app options creates a more effortless UI/UX experience. Minute creative changes to the usual designs in the app options can be made.

For example, increasing volume in a video playing app is the same bar for every video player. Still, it is different when you view it from a design perspective. We have to be very careful while creating such designs.

The idea is to make it simple for the people, not harder.

The actual copy

When everybody agrees with the design of the pages, it’s time to create a working copy with the real in-app options. This can further help you with filtering unnecessary options in the UI.

Once you use the real in-app options, you may find anomalies not present before. This step here helps you iterate those problems and rectify them efficiently.

Scaling to different screens

These wireframes are created generally for the middle range screens, so you have to check whether they can scale up to large screens and scale down lower screen sizes without losing their efficiency: the better the user experience, the greater chance of success for the app.

Maintaining the flow

Always look to maintain a smooth flow from one screen to another. Like in the Amazon app, you select the product, enter the address, and go to the payment page. The customer experience is flawless. So always try to maintain that flow.

Test properly

Try to cover every nook and corner of the design decisions for making it more optimal. Well designed wireframes make the visual interaction of the design easier.

The wireframes your team creates are the visual representation of your idea of an app, and you must convey your opinions and concerns to get the right “action plan”.

We just crossed the bridge of creating a wireframe. After successfully creating the wireframe, it’s time to make the prototypes and MVPs.

Creating an MVP

Developing an app is not an easy task; there are a lot of steps behind the tiny icon you download from the app store. Creating a prototype or MVP ( minimum viable product) is essential in testing the product. Determining whether you need a prototype or an MVP is the next step.

A prototype is a rough draft of your idea, and this is an early draft of your idea. Prototypes are mainly used to check the idea behind the theory. This is a cost-effective way of testing the credibility of your app.

An MVP is a functional, lightweight version of your end product. It is a great option to gather reliable inputs on the app’s functionality and can be shared among the shareholders to give them a concise overview of what they are funding.

Creating an MVP or prototype reduces the cost of testing and the time taken to review them personally. A prototype can always turn into an MVP. Both are essential for the proper testing of the app, and we shall go into the extensive details of MVPs.

There are mainly three reasons to create an MVP

  • Early entry to the market to win early adopters
  • To get the early reviews for further improvements for the app
  • Assessing the target audience and the behaviour to the product

“If you are not embarrassed by your first product, you launched late.”
– Reid Hoffman

Though these words give you the impression that a failed MVP is not the end, many entrepreneurs try to introduce a cheap MVP without any content whatsoever and deem it a failure.

They emphasise the “M” part of the MVP and neglect the “V” part. This backfires by biasing the reviews obtained, and the whole purpose of creating an MVP is nullified.

There are a series of ‘SIMPLE’ steps you need to keep in mind to deliver the MVP with qualities that can help you in real-time.

  • Start the market research
  • Ideate the app
  • Map out user flow
  • Prioritize MVP features
  • Launch
  • Evaluate with B-M-L

Let’s elaborate on each step.

Start the market research

Not all ideas reach the market and create the impact you expect, but many great ideas wither in the market due to poor research. Understanding your target audience can help you direct your product and get a detailed review of ways to develop the app.

You always have to keep an eye on the competitor’s product so that you can evaluate your competition and introduce features that make your product stand out from them.

Ideate the app

In this step, try to find answers to the below questions:

  • What value does it give the users?
  • How does it benefit them?
  • Why would they buy this product?

The answers to these questions will give you an idea of the outline of the product changes.

Map out user flow

Viewing the app through the user’s eyes is this step in simple words. Creating a smooth flow for the people who try to use the app from the first page to the last. Helping the user reach the objective in each step makes them happy with the product.

Prioritise MVP features

Before actually starting to build the MVP, the features of the MVP have to be arranged so that they are set from high, medium and low priority cases. This is where the process of prototyping takes into effect.

Launch

Now you have a base app to show the world; with this beta launch, you can analyse the scope of your product in the market and make the necessary changes to improve the app according to the user reviews.

Evaluate with B-M-L

B-M-L ( build-measure-learn) process is the final step in the lifecycle of an MVP. Build the product, and after the alpha testing process, it will be introduced into the market. Here you can measure the impact, progress and other aspects that help the product impact the market.

There will always be a need to make changes to the product, and you will learn about these changes from the reviews and mistakes. These insights give you the chance to rectify the bugs and improve performance.

On the way to creating your dream app, there will be a lot of potholes. MVPs help by giving you a heads up on those and helping clear them before they make a harmful impact.

Neglecting the MVP phase is a dangerous path to tread on. It can be said as the ‘most valuable part’ in creating your app.

Patent Your App

Everybody wants to protect their things from getting stolen or copied.

But how do you protect your app idea? Patenting comes in handy here.

Yes, an idea is intellectual property, and you can claim your right towards it if it adheres to the necessary criteria. Trademark, patent and app copyright protects your app ideas. Patenting your idea is an excellent way to ensure others are not making, using or selling it.

Now maybe a ton of puzzling questions starts coming up in your head, like what are the types of patent? How can I be eligible? And so much more. Let’s take a look at the patent process in detail.

Diving deeper

Your idea is intellectual property, and a patent helps you ward off copycats and endows you the right to develop and sell your invention. The United States Patent and Trademark Office (USPTO) officially issues patents, whereas Canadians apply for patents through the Canadian Intellectual Property Office.

Requirements

It needs to be unique, and the app idea should be yours and yours only. The checks for an app to be unique are more extensive than we imagine. The app idea should not be disclosed in a public format like books, videos, pending patents or other sources.

For example, if you are tired of hailing a cab and want to revolutionise this by introducing an app to get a taxi where you are, don’t, Uber beat you to it, and they have a patent.

In addition, the app needs to be an invention. The invention, as we perceive it, is a material thing, and an app is not. But here, the idea of an invention is used, an invention is something that solves a problem, and the app needs to do the same.

And you cannot propose any app idea you think is fun, and the app should at least work in theory. You need to give a detailed explanation of how and why this app works. It will be deemed ineligible if you can’t properly do that.

“Here’s something to remember. If you ever want to check whether someone beat you to the patent, you can check it in the USPTO database where they have all the patents and pending patents in the US, and you can refer to the World Intellectual Property Organizations IPC catchword index for international patents.”

Types

There are mainly two types of patent applications available.

Provisional application

This is considered the most common type of patent used by app development companies. A provisional application allows you to file without even a formal patent claim, declaration, or any information disclosure statement, so companies use it as the first approach when beginning with the patent process. There are certain perks of choosing this type of application

  • It grants 12 months to develop and refine the MVP
  • The title of “patent pending” can be used on your product
  • It is comparatively less expensive to prepare and file the patent application
  • It allows to file international applications and claim priority within 12 months

Non-provisional application

A non-provisional app for a patent can be filed without claiming any priority of application made in a convention country or without any reference to the app that is already in the process.

But it must have a complete specification and claim. The application should contain a written description of the invention and at least one claim that legally defines the app’s details.

An experienced software attorney can help you choose the correct application for you, and they can also help you with the process of claiming the patent.

There will always be cheap rip-offs of great ideas; patenting your idea will give an edge over those by controlling the market if ever they try to grow. This detailed analysis of the Patent part of the app development process gives you a clear idea of what to expect while patenting your app concept.

Development

The development of a mobile app can be classified into pre-launch and post-launch development. Development of an app will go on till the lifecycle of the app ends. From the moment you try to breathe in life to your idea to the growth of the final product in the market, app development occurs. Let’s break down this long journey of development into sections.

Pre-launch development

The first step towards making your app a reality is pre-launch development. This goes on till the introduction of the product into the market. The various stages of this development are spread throughout this e-book. We will look at those steps concisely here.

Strategy
Defining strategic ideas to make your idea into an app

Analysis and planning
Identify the requirements, find the right team, and prepare a product roadmap.

Design
Creating a design that provides high efficiency while having an excellent UI/UX interface. Brainstorming for unique aesthetic improvements can set the app apart from the crowd.

Prototyping and MVP
Creating a prototype and MVP for the testing of the app. Collecting reviews from selected users or people who can give you an honest opinion about the app.

Testing
Testing for bugs or repairs and checking the credibility of the reviews of the MVP. The functional testing, performance testing and security testing are done. QA analysis is vital for the development of an app.

Development
After properly recording the testing results analysing the data from MVP introduction, changes are made, and the product is launched into the market.

After the product is launched in the open market, users will access the app, face some difficulties, or need some sort of improvement in the functionality of the app. This is when the next part of the development process comes into play.

Post-launch development

Analysing reviews
After the initial market exposure, the users will have many reviews for the app. Taking that as constructive criticism, analyse the market’s trend and the changes you need to make. After the development team approves the changes, it goes through similar channels like in pre-launch development.

Functionality improvement
Certain apps’ functionality can be improved to adapt to the changing users or from the reviews of the targeted audience. These functionality improvements give the user a joyful experience while using the app.

Regular updates
The updates need to be scheduled regularly as the needs of humans change, and the app needs to be on top of the trend. So periodic updates and tweaks can give users a new experience from the same app.

Security updates
New bugs and trojan viruses harm the device. And apps work by collecting data from their user. If you do not give security updates regularly, there will be a security breach, which can put all the private data of people at risk.

As we have mentioned in the beginning, development is an ongoing process that reaches its limit with the end of the app. Change is inevitable, so there will always be the need for spontaneous or planned development processes. The only way to always be ahead of the curve is by constantly evaluating the market and analysing the data.

How to Market Your Mobile App

Did you know?

142.9 billion app downloads were reported in 2020.
The number will increase in the years to come. It also means that you need to laser-focus on app marketing to carve a niche in the app stores.

Building your mobile app is only half the battle. To catapult your app to success, design an actionable and intelligent strategy to market it to your target audience.

But:

How do you do it?

Here are five actionable & evergreen marketing strategies that mobile apps should implement right away for long term growth.

app marketing strategies

1. Promote your app on social media

Leverage the power of social media to bag more users for your app because the lion’s share of your audience is on social media. Run audience-driven ad campaigns on Facebook and Instagram to get your app to the right set of users. Another massively successful social media strategy is running contests to boost your app visibility among a wider audience.

2. Sign up with Influencers

Influencers are key figures that helm the marketing scenario today. Pick niche-based influencers and get them to promote your app to their audience. This way, you’ll get more traction in the fastest way possible.

However, play your cards right while choosing the influencers. Look for audience quality and engagement rather than vanity metrics like followers or likes.

3. Take full advantage of app store optimisation

App store optimisation is the SEO of the mobile app universe! Yes, you heard us right.

It is painful to admit that the app market is already saturated. Thousands of apps are uploaded to app stores every day.

App store optimisation lets you boost the visibility of your mobile app in app stores. This makes it easier for your users to find your app. To optimise your app, you need to use the right keywords and app description, share a video tutorial of your app or even some screenshots that explain your app features and get positive user reviews. Even if you get a terrible review, ensure that your team responds to it.

4. Leverage Your Website

It’s always good to have a complete website just for your mobile app. Because websites are one of the most effective ways to increase app downloads. Create a mobile-optimised website and share content that talks about your app’s features. Blogs are an excellent choice to create content about your app. Also, the primary CTA of your website should be to download your mobile app.

5. Create a Content Strategy

Content marketing is still and will be an integral part of your mobile app marketing. Create a rock-solid yet flexible content strategy that aligns with your business objectives.

Having a content strategy in place will help you level up your app marketing game by sharing the right content at the right time.

For example, a referral program is a proven tactic to acquire users for newly launched apps. A content strategy that aligns with this program can include blogs and videos that explain the referral bonuses.

Takeaway

Innovation in businesses with the help of technology is the future of business growth.

Smartphones are the perfect channel for this and applications are the soul. The things we enjoyed in the cinema, through walkmans, cameras, etc., all are now inside it. A perfect mixture of entertainment, music and business!

Numbers don’t lie, as people like to say. And right now, the number of digits in the revenue generated by the mobile app is inching towards 13 and that too in USD.

People are ordering in, booking tickets, shopping for clothes, buying groceries, and all from within the comfort of their houses. Countless brands have ascended through this, and it is time the world knows yours.

So, giddy-up. Technical or non-technical, whatever category you fall into, the time is ripe to build a mobile for your business. Follow the steps we have iterated and develop your mobile app.

Or, give us a ring . We will see it through that your idea becomes a successful application.

FAQ - Mobile App Development

How much do I have to pay for a mobile app?

The cost of your mobile app completely depends on your requirements. Our team at NeoITO can help you get an estimate. Just contact us now.

How long does it take to develop a mobile app?

Developing a fully functional mobile app can take anywhere from three to six months. The features and type of your app play a crucial role here.

What are the prerequisites for a mobile app development project?

An amazing app idea that people would love and an experienced tech partner to make it happen. Have an app idea? We’ll help you turn it into a top-notch mobile app. Just get in touch with us now.

What is the process involved in mobile app development?

Generally, the mobile app development process includes a scope discussion, UI/UX design, development, QA testing, and launch.

What frameworks and mobile app development languages should I choose for my app?

Again, this completely depends on your app requirements and its features. However, we recommend that you choose programming languages with a number of frameworks and libraries.